Solr 4.10 and Tomcat 7 on Debian 7
Solr, Tomcat, Debian | February 07, 2014
Edit: Update March 15, 2015 for Solr 4.10.
This article describes how to install a multi-core Solr 4.10 installation with Tomcat 7 on Debian 7. It will also give you some pointers about logging, monitoring and performance. The purpose of this article is to give the reader a pretty clean installation.
Install Java
Tomcat 7 from packages will install OpenJDK 6 if no Java is installed yet. But starting from version 4.8, Solr requires Java 7 or greater. So first install Java 7.
# apt-get install openjdk-7-jre-headless
Install Tomcat
Debian 7 has Tomcat 7 in it's repositories by default, so you can install it with apt-get.
# apt-get install tomcat7 tomcat7-admin
Configure an admin user for Tomcat by adding a line in "/var/lib/tomcat7/conf/tomcat-users.xml":
<user username="admin" password="secret" roles="manager-gui,admin-gui"/>
After restarting Tomcat, you should be able to access the manager at "http://127.0.0.1:8080/manager/html"
# service tomcat7 restart
Install Solr
Debian doesn't package Solr 4.10 yet, so you will have to download and install this yourself:
# wget ftp://<download-mirror>/mirrors/ftp.apache.org/lucene/solr/4.10.4/solr-4.10.4.tgz # tar xzvf solr-4.10.4.tgz # mv solr-4.10.4 /usr/share/solr # mkdir -p /usr/share/solr/live/solr # cp /usr/share/solr/example/webapps/solr.war /usr/share/solr/live/solr/solr.war # chown -R tomcat7:tomcat7 /usr/share/solr
Configure logging
The Simple Logging Facade for Java (SLF4J) serves as a simple facade or abstraction for various logging frameworks (e.g. java.util.logging, logback, log4j).
Solr uses SLF4J for logging, but you need to configure a logging framework yourself. This is required to make Solr run. For example to bind SLF4J to Apache log4j:
# cp /usr/share/solr/example/lib/ext/* /usr/share/tomcat7/lib # cp /usr/share/solr/example/resources/log4j.properties /usr/share/tomcat7/lib
Edit /usr/share/tomcat7/lib/log4j.properties and set solr.log=logs/ to solr.log=/var/log/solr. Next create the log directory and set the proper permissions:
# mkdir /var/log/solr # chown tomcat7:tomcat7 /var/log/solr
Make sure the log will not eat up the entire filesystem and add it to logrotate. Create a file "/etc/logrotate.d/solr" with this content:
/var/log/solr/solr.log { copytruncate daily rotate 5 compress missingok create 640 tomcat7 tomcat7 }
Add Solr to Tomcat
To deploy Solr to Tomcat, create a file named "/etc/tomcat7/Catalina/localhost/solr.xml" with the folowing content:
<Context docBase="/usr/share/solr/live/solr/solr.war" debug="0" crossContext="true"> <Environment name="solr/home" type="java.lang.String" value="/usr/share/solr/live/solr" override="true" /> </Context>
Copy over the Solr configuration file from the examples.
cp /usr/share/solr/example/solr/solr.xml /usr/share/solr/live/solr/solr.xml
After restarting Tomcat you should already see a running Solr instance in the Tomcat application manager.
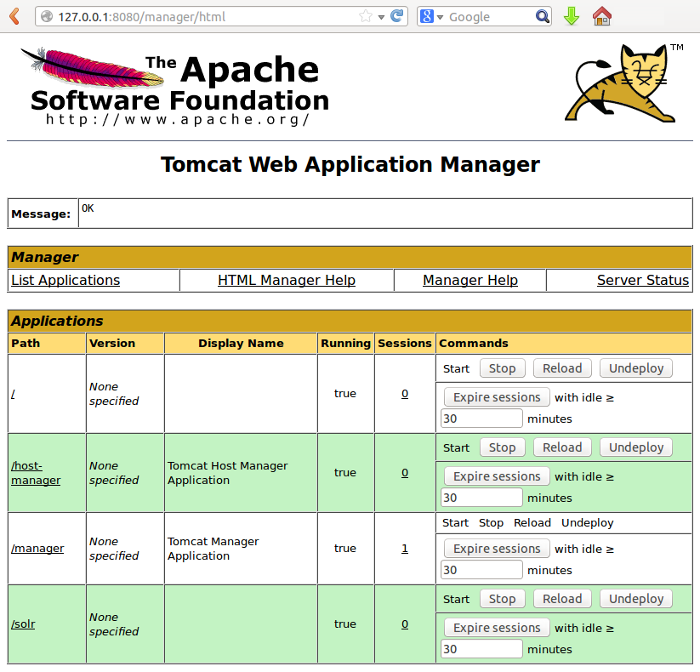
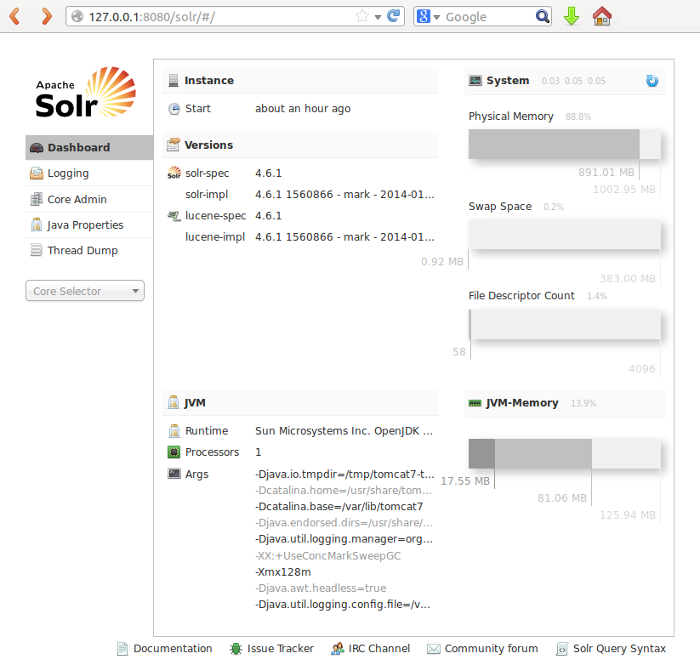
Click on the /solr link to access the Solr dashboard.
Add cores
For this example I added two cores. The instructions below to add a core are parametrized with the core name to make it easy to repeat the steps for each core:
# CORE_NAME=ctors_1 # mkdir -p /usr/share/solr/live/solr/cores/${CORE_NAME}/data/index # mkdir -p /usr/share/solr/live/solr/cores/${CORE_NAME}/conf # cp -R /usr/share/solr/example/solr/collection1/conf/* \ /usr/share/solr/live/solr/cores/${CORE_NAME}/conf/ # echo "name=${CORE_NAME}" >> \ /usr/share/solr/live/solr/cores/${CORE_NAME}/core.properties # chown -R tomcat7:tomcat7 /usr/share/solr/live/solr/cores/${CORE_NAME}
Optionally, you could add ownership for a regular user to the conf directory of the core. For example when you have multiple web projects that each have their own SFTP user account, this account can then also be used to upload new schema files etc. As a bonus you could symlink the conf folder from the project's www folder so the user can easily find his way to the correct configuration files. Note: do not publish these files in the document root of your webserver.
# chown -R ${CORE_NAME}:tomcat7 /usr/share/solr/live/solr/cores/${CORE_NAME}/conf/ # ln -s /usr/share/solr/live/solr/cores/${CORE_NAME}/conf \ /var/www/${CORE_NAME}/solr_core_conf
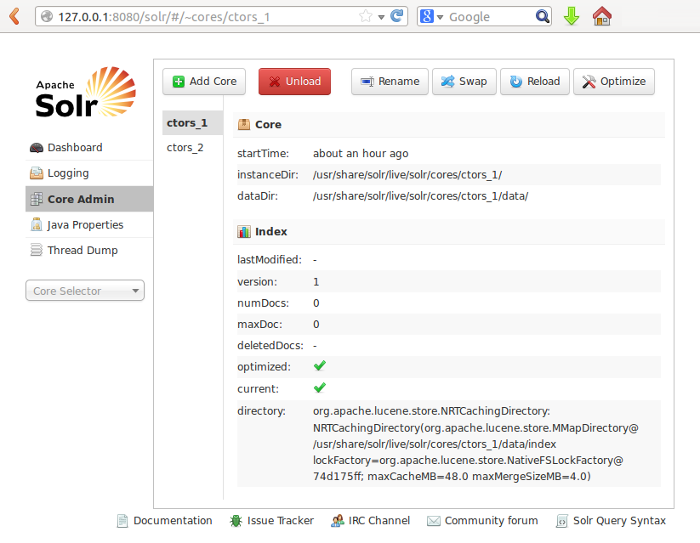
After restarting Tomcat, you should be able to access the Solr core admin:
# service tomcat7 restart
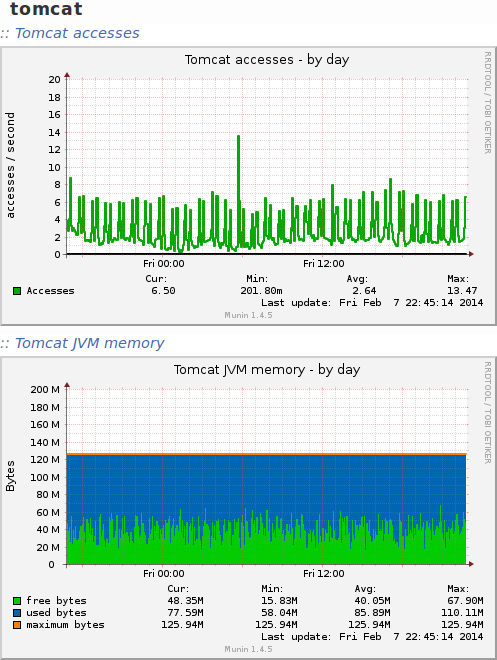
Configure Munin
When adding new services to a system, you should always make sure you have at least some basic monitoring. For example to enable the Munin plugins for Tomcat, first install the required dependencies:
# apt-get install liblwp-useragent-determined-perl libxml-simple-perl
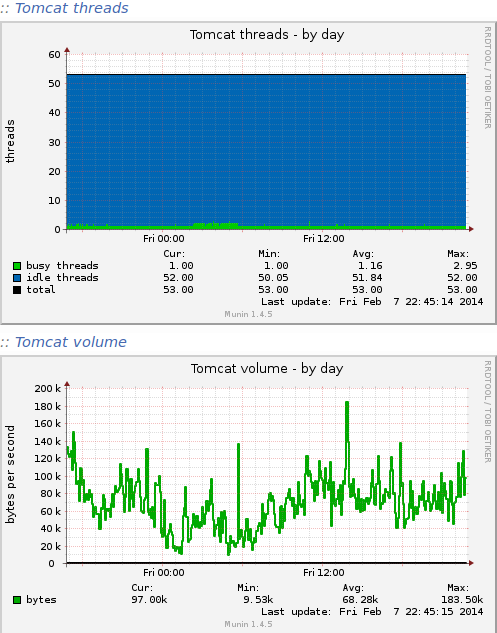
Next, activate the plugins:
# cd /etc/munin/plugins # ln -s /usr/share/munin/plugins/tomcat_access # ln -s /usr/share/munin/plugins/tomcat_jvm # ln -s /usr/share/munin/plugins/tomcat_threads # ln -s /usr/share/munin/plugins/tomcat_volume
Munin should be able to access your protected Tomcat instance. Add your credentials (optionally, you could add an extra account specifically for Munin) in "/etc/munin/plugin-conf.d/munin-node":
[tomcat_*] env.user admin env.password secret
The same is true for Solr. I use these Munin plugins https://github.com/averni/munin-solr. They are easy to install:
cd /usr/share/munin/plugins wget https://raw.github.com/averni/munin-solr/master/solr4_.py ln -s /usr/share/munin/plugins/solr4_.py /etc/munin/plugins/solr_numdocs_ctors_1 ln -s /usr/share/munin/plugins/solr4_.py /etc/munin/plugins/solr_numdocs_ctors_2 ln -s /usr/share/munin/plugins/solr4_.py /etc/munin/plugins/solr_requesttimes_select ln -s /usr/share/munin/plugins/solr4_.py /etc/munin/plugins/solr_qps ln -s /usr/share/munin/plugins/solr4_.py /etc/munin/plugins/solr_qps_ctors_1_select ln -s /usr/share/munin/plugins/solr4_.py /etc/munin/plugins/solr_qps_ctors_2_select ln -s /usr/share/munin/plugins/solr4_.py /etc/munin/plugins/solr_indexsize ln -s /usr/share/munin/plugins/solr4_.py /etc/munin/plugins/solr_memory
Configure the plugin in "/etc/munin/plugin-conf.d/munin-node":
[solr4_*] env.solr4_host_port solrhost:8080 env.solr4_url /solr env.solr4_qpshandler_select /select
Java performance tips
On a dedicated Solr server you should use as much memory as possible, let's say up to 70% of the total memory of the server. Always keep an eye on the monitoring to make sure your changes actually benefit the setup. The allowed memory can be adjusted by setting the value "JAVA_OPTS" in "/etc/default/tomcat7":
-Xms1024m -Xmx1024m
The "-Xms" option sets the maximum allowed size of the heap and the "-Xmx" option sets the initial size of the heap.
The concurrent mark sweep garbage collector (CMS) is targeted at applications that are sensitive to garbage collection pauses. It performs most garbage collection activity concurrently, i.e., while the application threads are running, to keep garbage collection-induced pauses short.
This is enabled (by default) with:
-XX:+UseConcMarkSweepGC
Additionally, you can activate incremental mode (i-cms) for the CMS.
Normally, the CMS uses one or more processors during the entire concurrent tracing or sweeping phase, without voluntarily relinquishing them. This overhead can be too much of a disruption for applications with response time constraints that might otherwise have utilized the processing cores, particularly when run on systems with just one or two processors. Incremental mode solves this problem by breaking up the concurrent phases into short bursts of activity, which are scheduled to occur mid-way between minor pauses.
Again this is something you should carefully test and monitor. Activate the option with:
-XX:+CMSIncrementalMode
More about Java GC tuning:
- http://www.oracle.com/technetwork/java/javase/gc-tuning-6-140523.html
- http://docs.oracle.com/javase/7/docs/technotes/guides/vm/cms-6.html
Solr performance tip
While indexing with Solr, the memory usage will grow with the number of indexed documents until a commit is performed. After that, the GC will free up the memory. There is an option "autocommit" that can be set in the "solrconfig.xml" that causes commits to happen automatically. Read more about this at:
Solr with PHP
If you are using Solr with Drupal, you don't need this step. But if you use something else, you probably will. Add the required dependencies to build PECL packages on your system:
# apt-get install php-pear php5-dev php5-curl \ gcc libcurl4-gnutls-dev libxml2 libxml2-dev make
Next, install the Solr library with PEAR:
# pear install pecl/solr
Load the module by adding it to your ini configuration:
# echo extension=solr.so > /etc/php5/conf.d/solr.ini
Check if the module gets loaded correctly:
# php -m | grep solr solr